Many churches around the country are wrapping "tangible proof of God's love" around those who need it most. Tangible proof? You mean something I can hold? Absolutely!
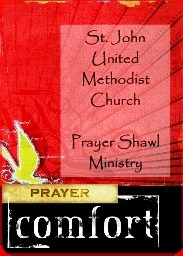
Introducing the prayer shawl!
-B.jpg)
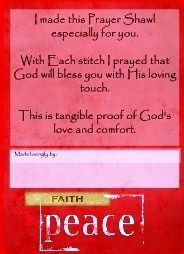-1.jpg) Knitters work on a shawl in the softest of yarns to create a cozy wrap for hospital patients, women in crisis, those making long treks across the globe, new mother's with babies in the NICU - this list goes on and so does the ministry! Those creating the shawl pray for the recipient while each stitch is cast. Since a shawl requires focus and time, there is a lot of love put into each one.
Knitters work on a shawl in the softest of yarns to create a cozy wrap for hospital patients, women in crisis, those making long treks across the globe, new mother's with babies in the NICU - this list goes on and so does the ministry! Those creating the shawl pray for the recipient while each stitch is cast. Since a shawl requires focus and time, there is a lot of love put into each one.
Each shawl from St. John United Methodist church will now come with a small card signed by the creator, making the gift that much more personal.
Cards created by: Jennifer Stratton - http://www.myphotofairy.com/ or (907) 350-1755 and retail for $25 for 54.


-F.jpg)
-F.jpg)
-F.jpg)
-F.jpg)
-F.jpg)
-1.jpg)
-2.jpg)
-4.jpg)
-6.jpg)
-1.jpg)


-FC.jpg)
-1.jpg)
-3.jpg)
-FC.jpg)
-2.jpg)
-6.jpg)
-4.jpg)


-F.jpg)